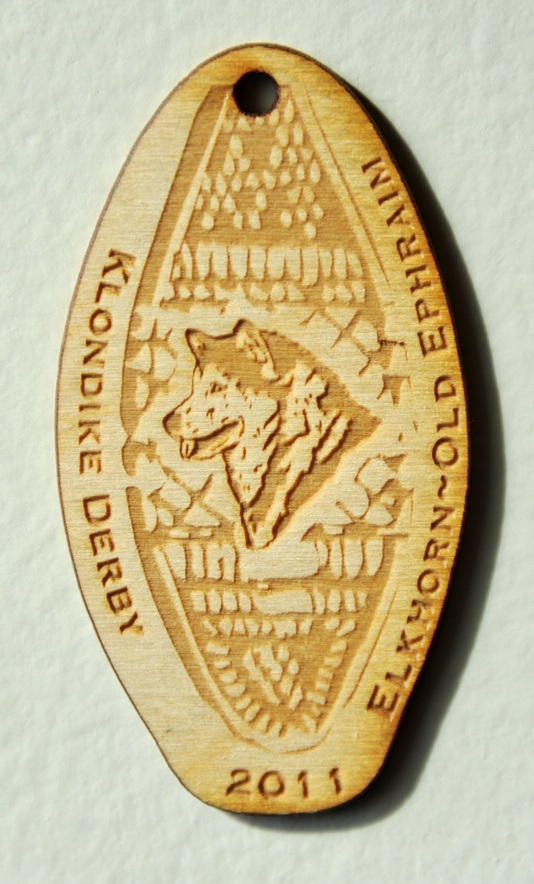
Organized by Loy Moser and Davy McClay.
This event was organized around the Orienteering merit badge.
Orienteering, the use of map and compass to find locations and plan a journey, has been a vital skill for humans for thousands of years. Orienteering is also a recognized sport at the Olympic Games, and thousands of people participate in the sport each year in local clubs and competitions.
Orienteering requirements
Explained or demonstrated at this camp: 1, 2, 3a and 3b, 4, 5, 7a -- one orienteering event.
- 1. Show that you know first aid for the types of injuries that could occur while orienteering, including cuts, scratches, blisters, snakebite, insect stings, tick bites, heat and cold reactions (sunburn, heatstroke, heat exhaustion, hypothermia), and dehydration. Explain to your counselor why you should be able to identify poisonous plants and poisonous animals that are found in your area.
- 2. Explain what orienteering is.
- 3. Do the following:
- a. Explain how a compass works. Describe the features of an orienteering compass.
- b. In the field, show how to take a compass bearing and follow it.
- 4. Do the following:
- a. Explain how a topographic map shows terrain features. Point out and name five terrain features on a map and in the field.
- b. Point out and name 10 symbols on a topographic map.
- c. Explain the meaning of declination. Tell why you must consider declination when using map and compass together.
- d. Show a topographic map with magnetic north-south lines.
- e. Show how to measure distances using an orienteering compass.
- f. Show how to orient a map using a compass.
- 5. Set up a 100-meter pace course. Determine your walking and running pace for 100 meters. Tell why it is important to pace-count.
- 6. Do the following:
- a. Identify 20 international control description symbols. Tell the meaning of each symbol.
- b. Show a control description sheet and explain the information provided.
- c. Explain the following terms and tell when you would use them: attack point, collecting feature, aiming off, contouring, reading ahead, handrail, relocation, rough versus fine orienteering.
- 7. Do the following:
- a. Take part in three orienteering events. One of these must be a cross-country course.*
- b. After each event, write a report with (1) a copy of the master map and control description sheet, (2) a copy of the route you took on the course, (3) a discussion of how you could improve your time between control points, and (4) a list of your major weaknesses on this course . Describe what you could do to improve.
- 8. Do ONE of the following:
- a. Set up a cross-country course of at least 2,000 meters long with at least five control markers. Prepare the master map and control description sheet.
- b. Set up a score-orienteering course with 12 control points and a time limit of at least 60 minutes. Prepare the master map and control description sheet.
- 9. Act as an official during an orienteering event. This may be during the running of the course you set up for requirement 8.
- 10. Teach orienteering techniques to your patrol, troop or crew.
Note to the Counselor: While orienteering is primarily an individual sport, BSA Youth Protection procedures call for using the buddy system. Requirement 7a can be completed by pairs or groups of Scouts.
The following pages constitute a slide show and photo selector.
The slide show itself is intended for sequential viewing of a collection of photographs.
Each page includes in its title bar, and underneath, the file name of the photo. This is useful when corresponding to someone about the photo.
To advance to the next photo: Clicking on the photo advances you to the next photo unless you are on a thumbnail or zoomed photo, in which case clicking it takes you to the 'normal' size.
Below each photo is a set of links (buttons) to advance, return, or exit the slide show.
A thumbnail gallery is available for visually selecting photos. If you choose this option, clicking a thumbnail puts you into the slide show at the photo chosen; from there the slide show proceeds with the remainder of the show.
